Breaking Stuff in Sedona!

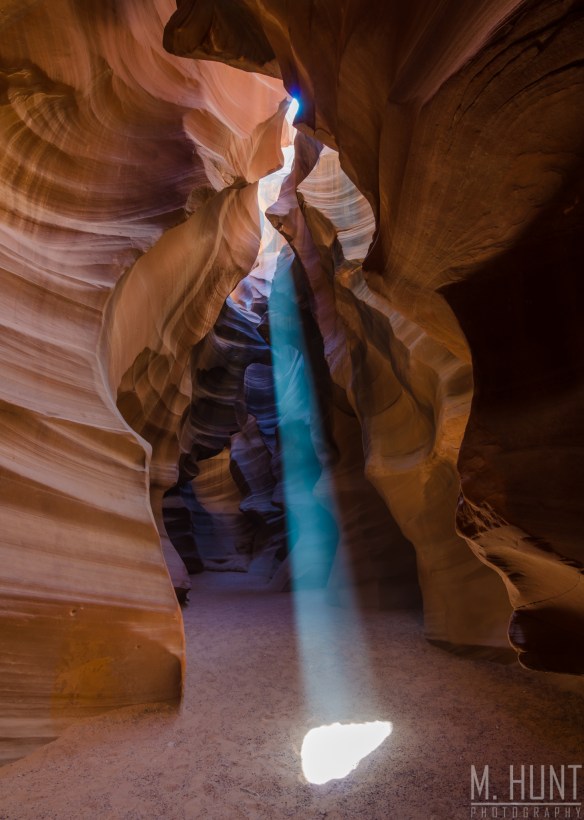
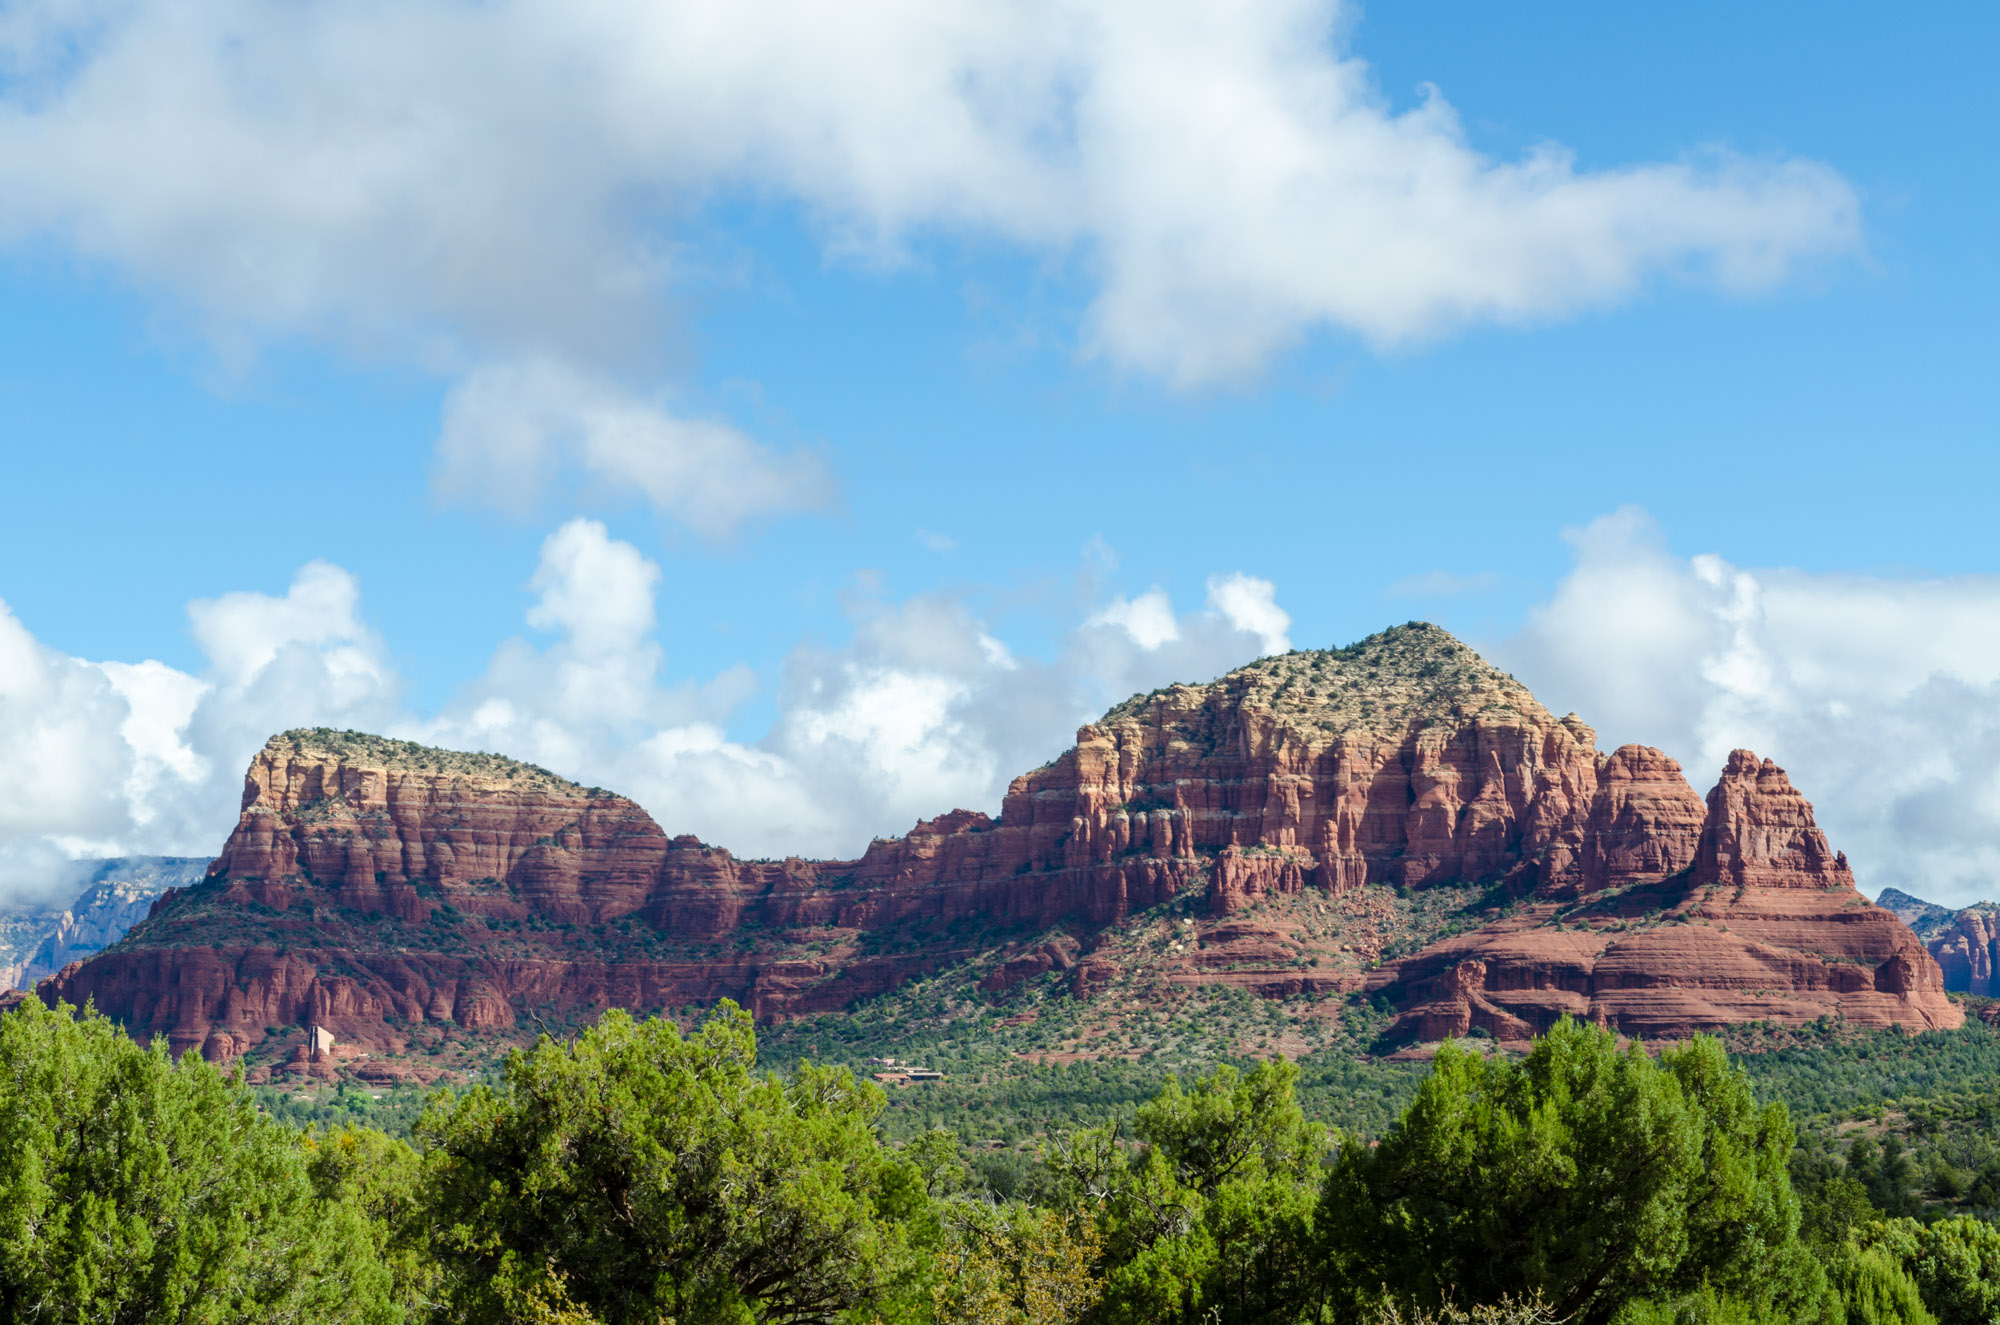
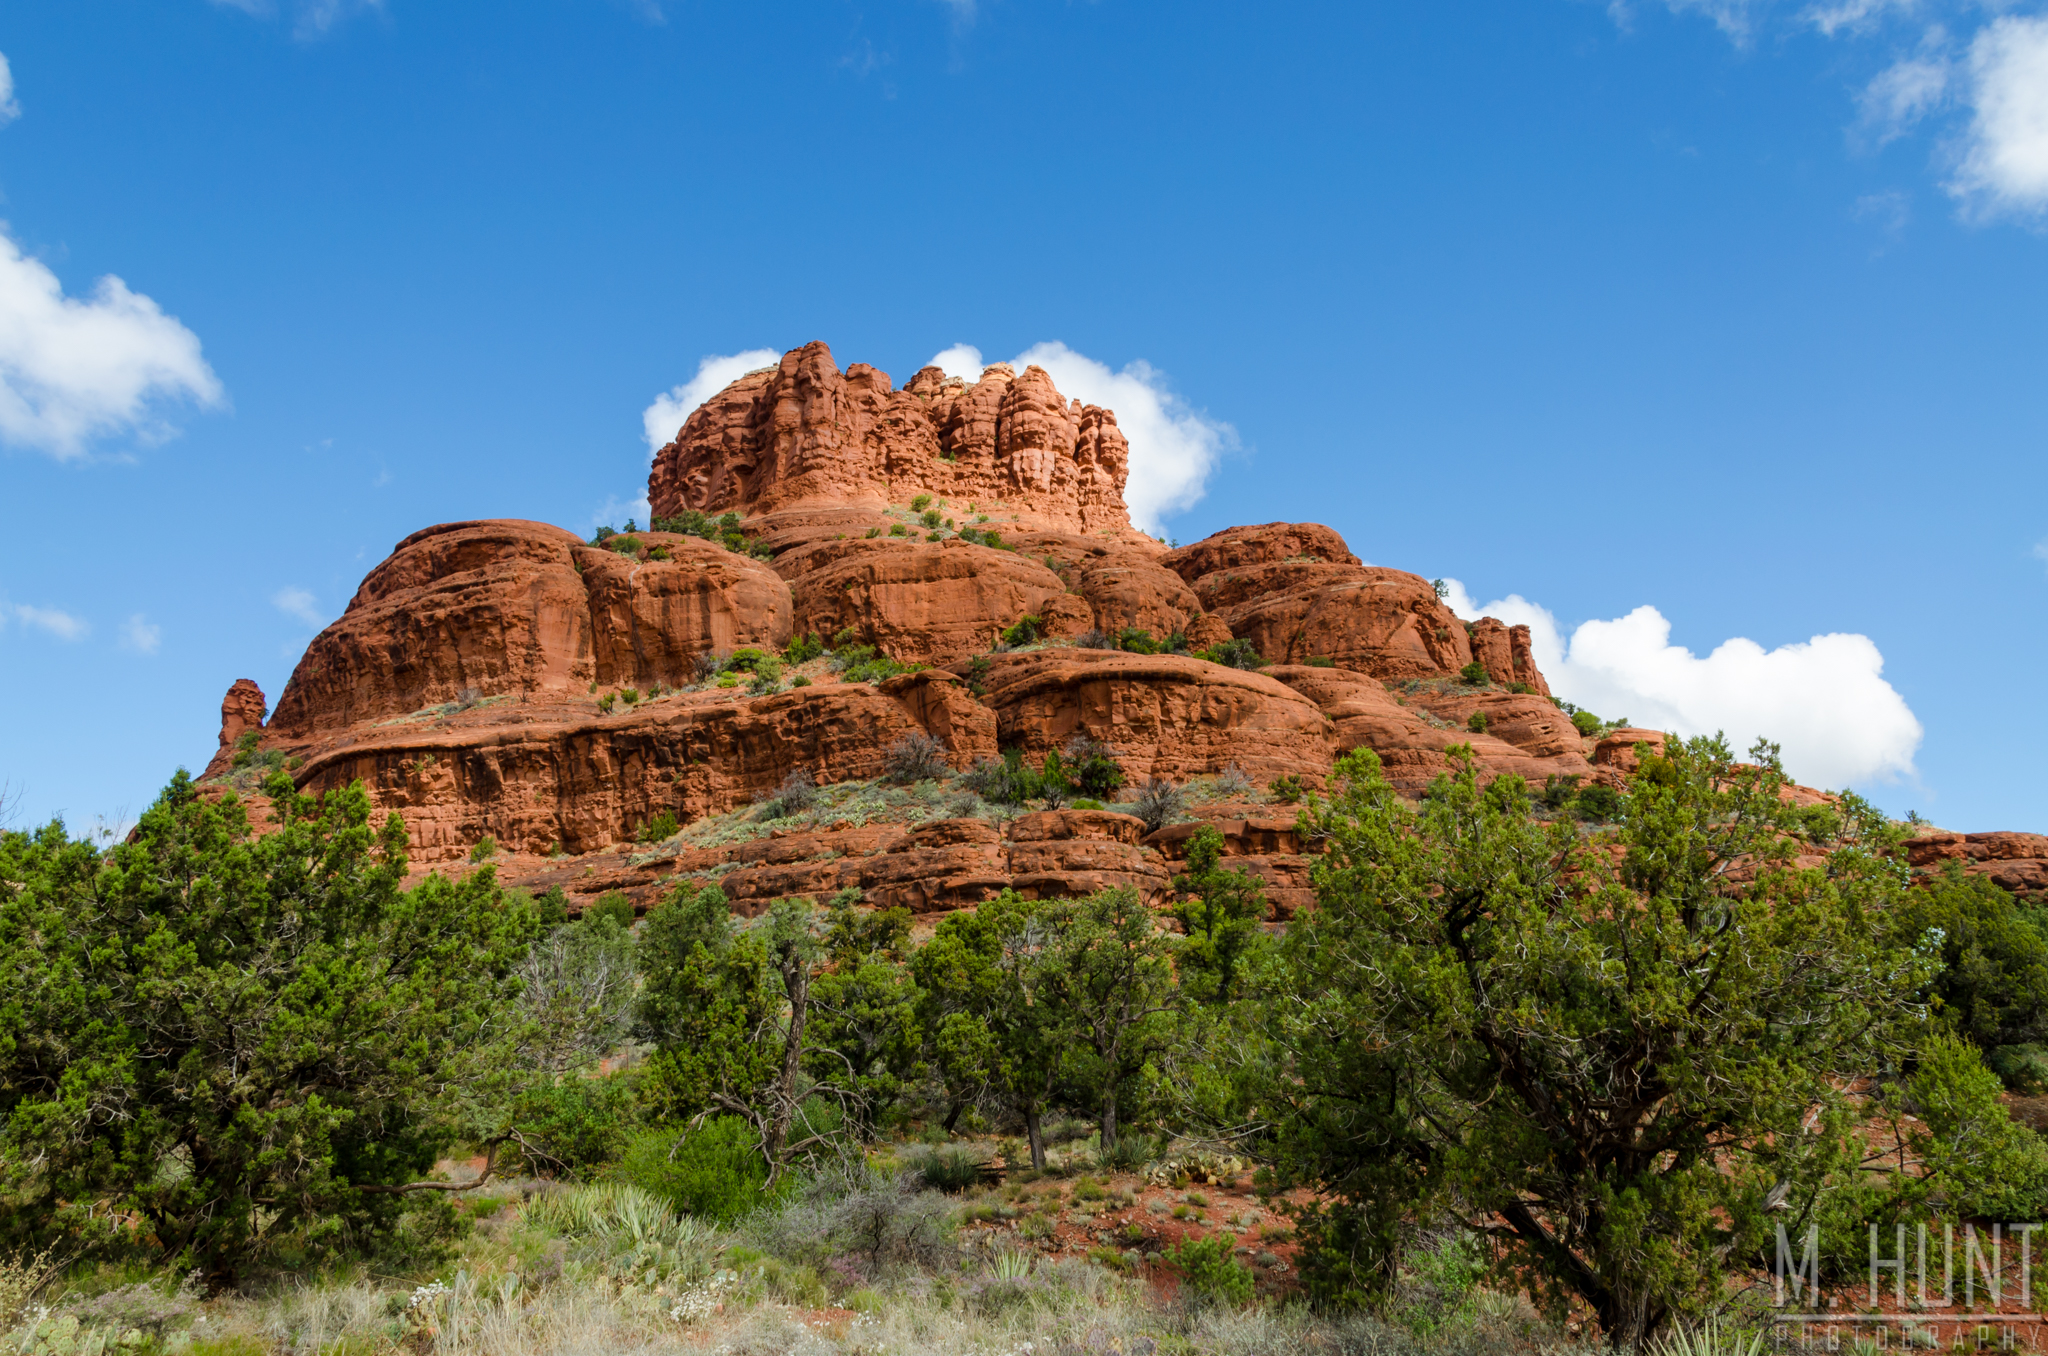
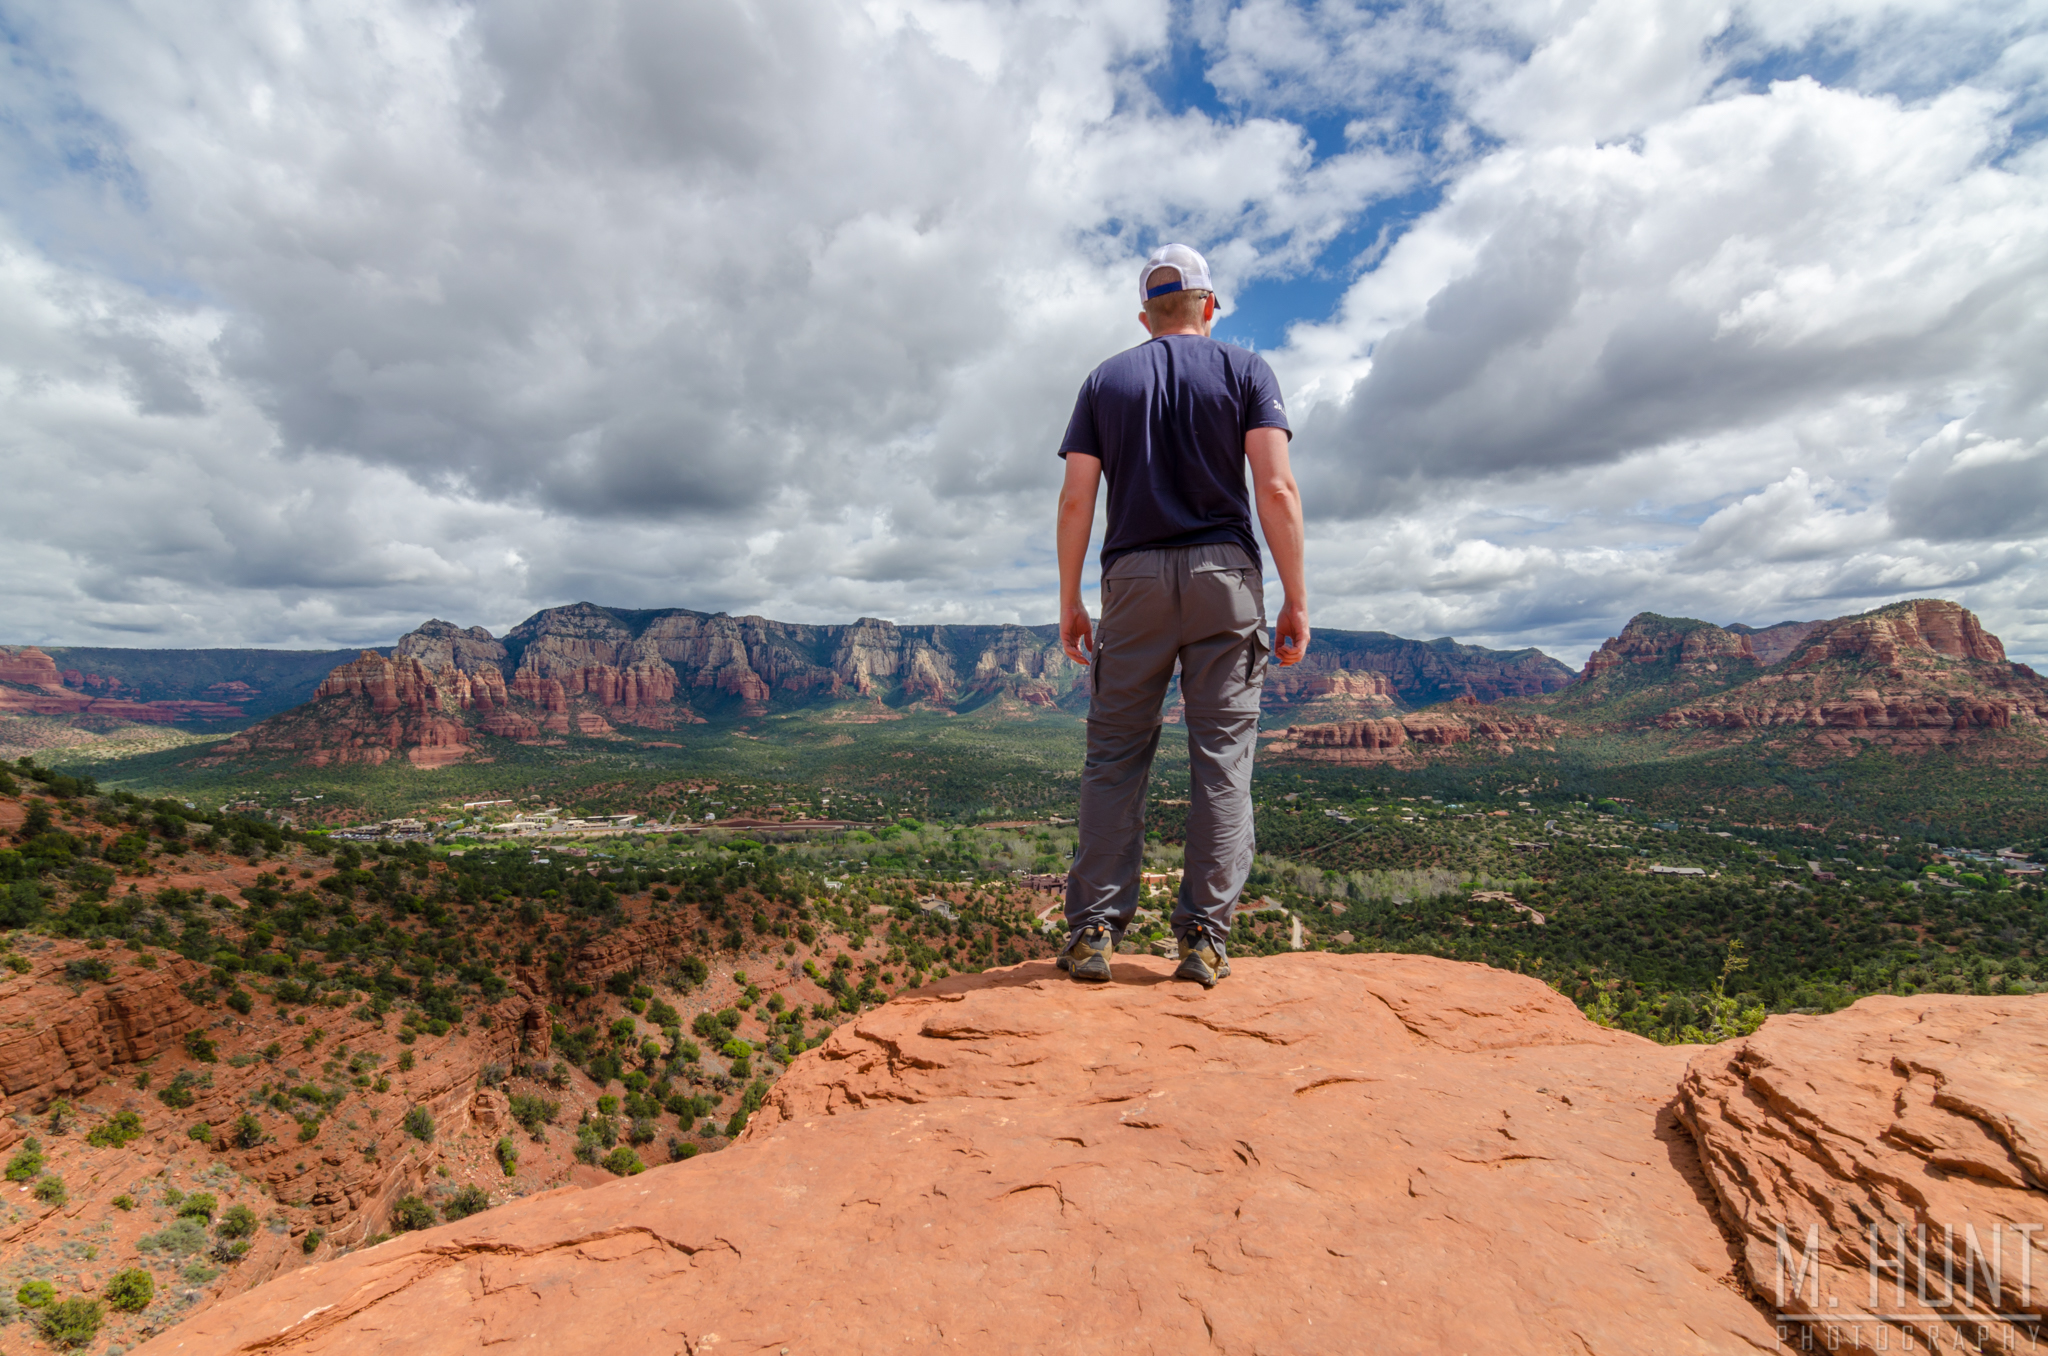
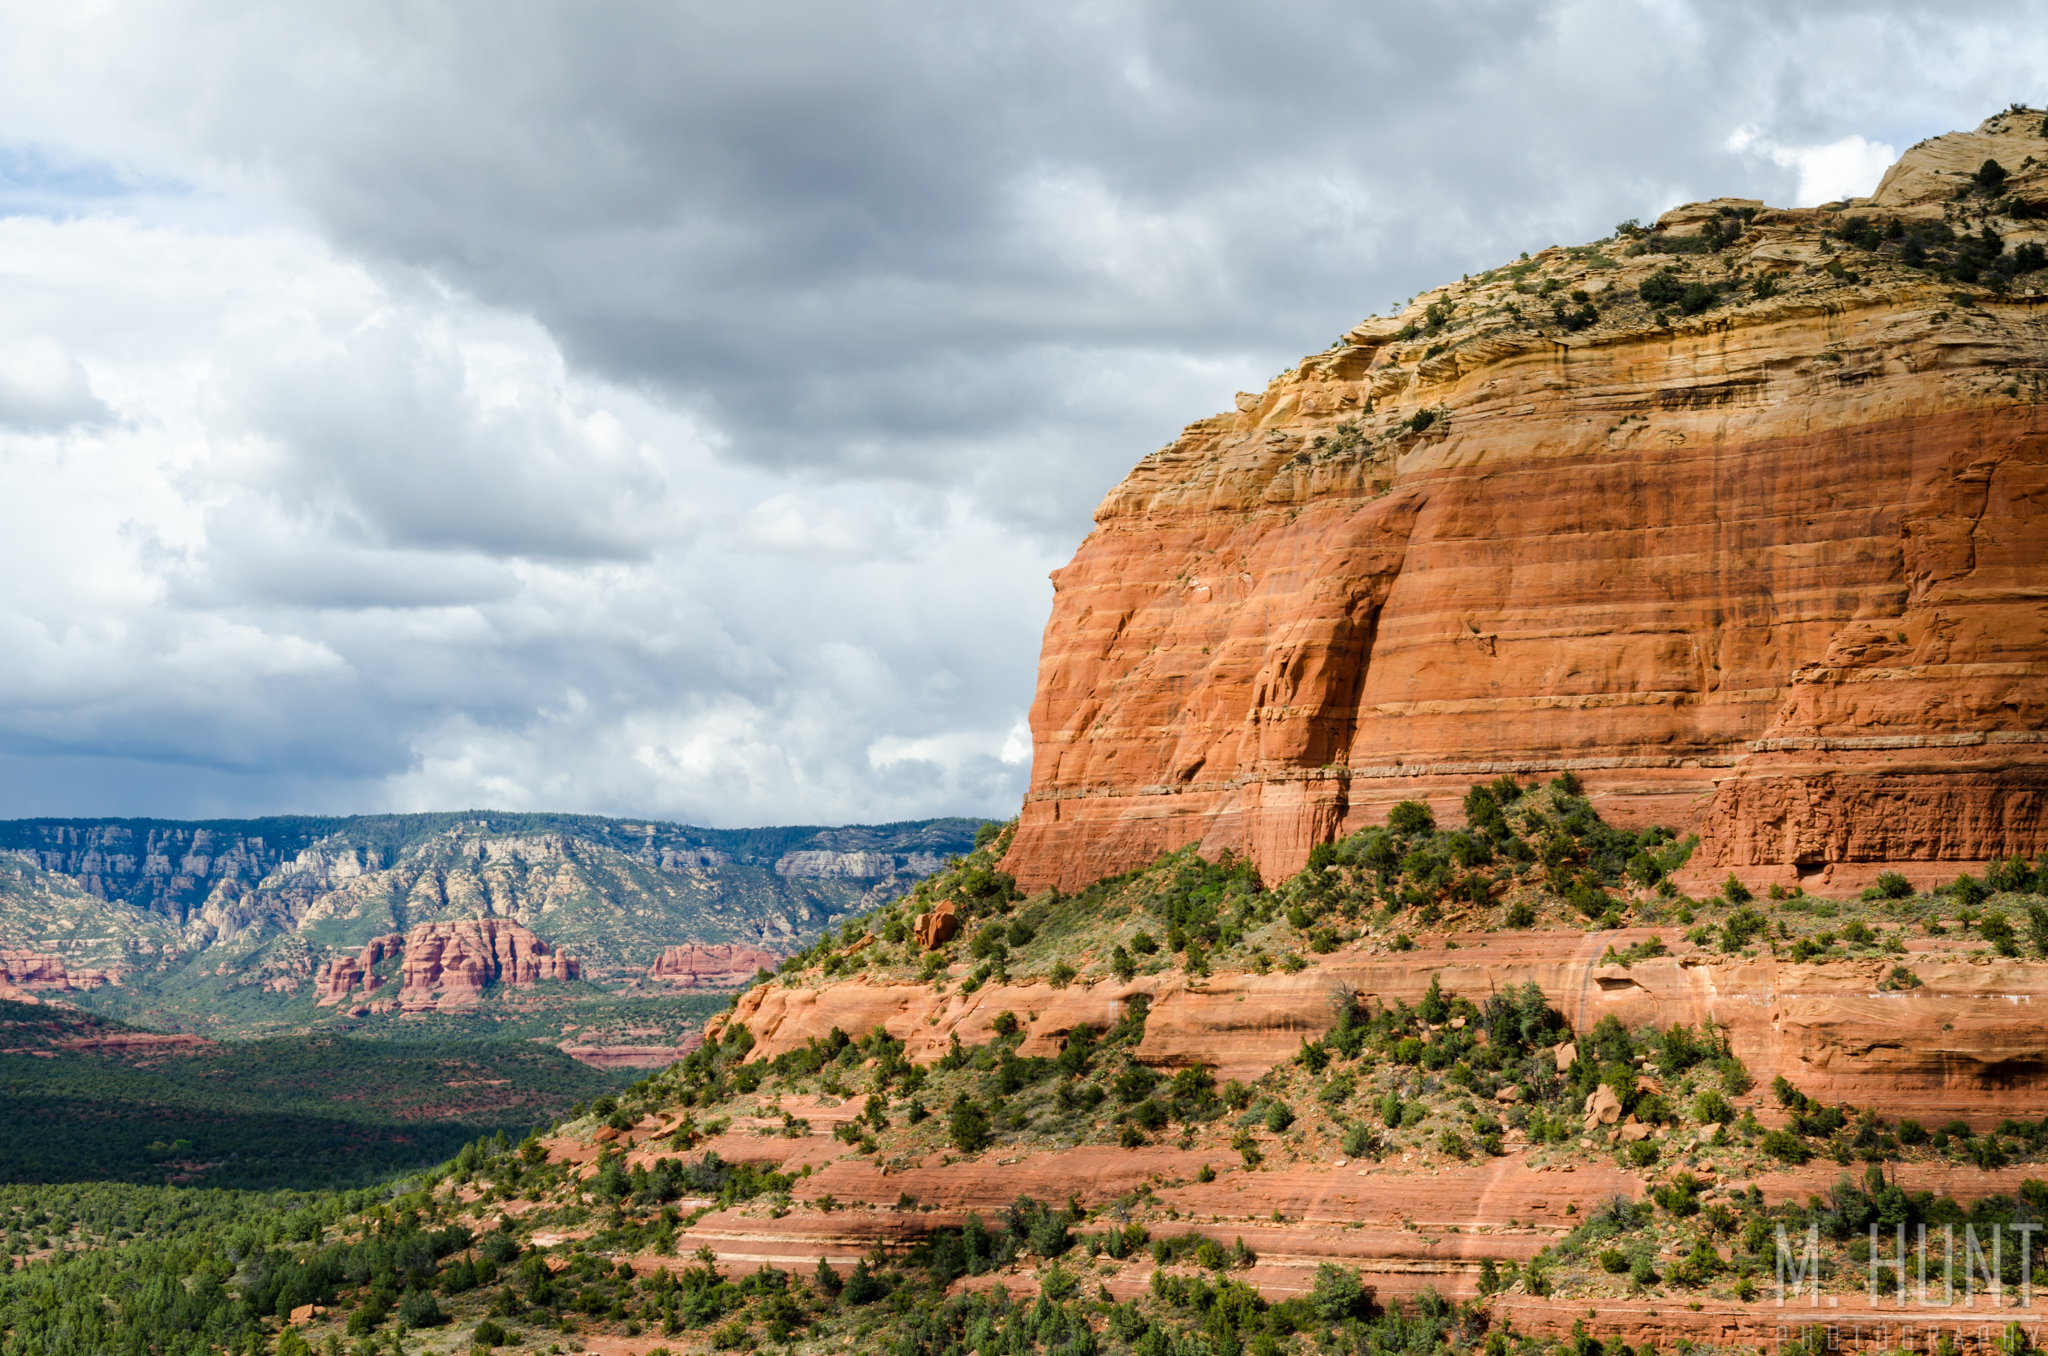
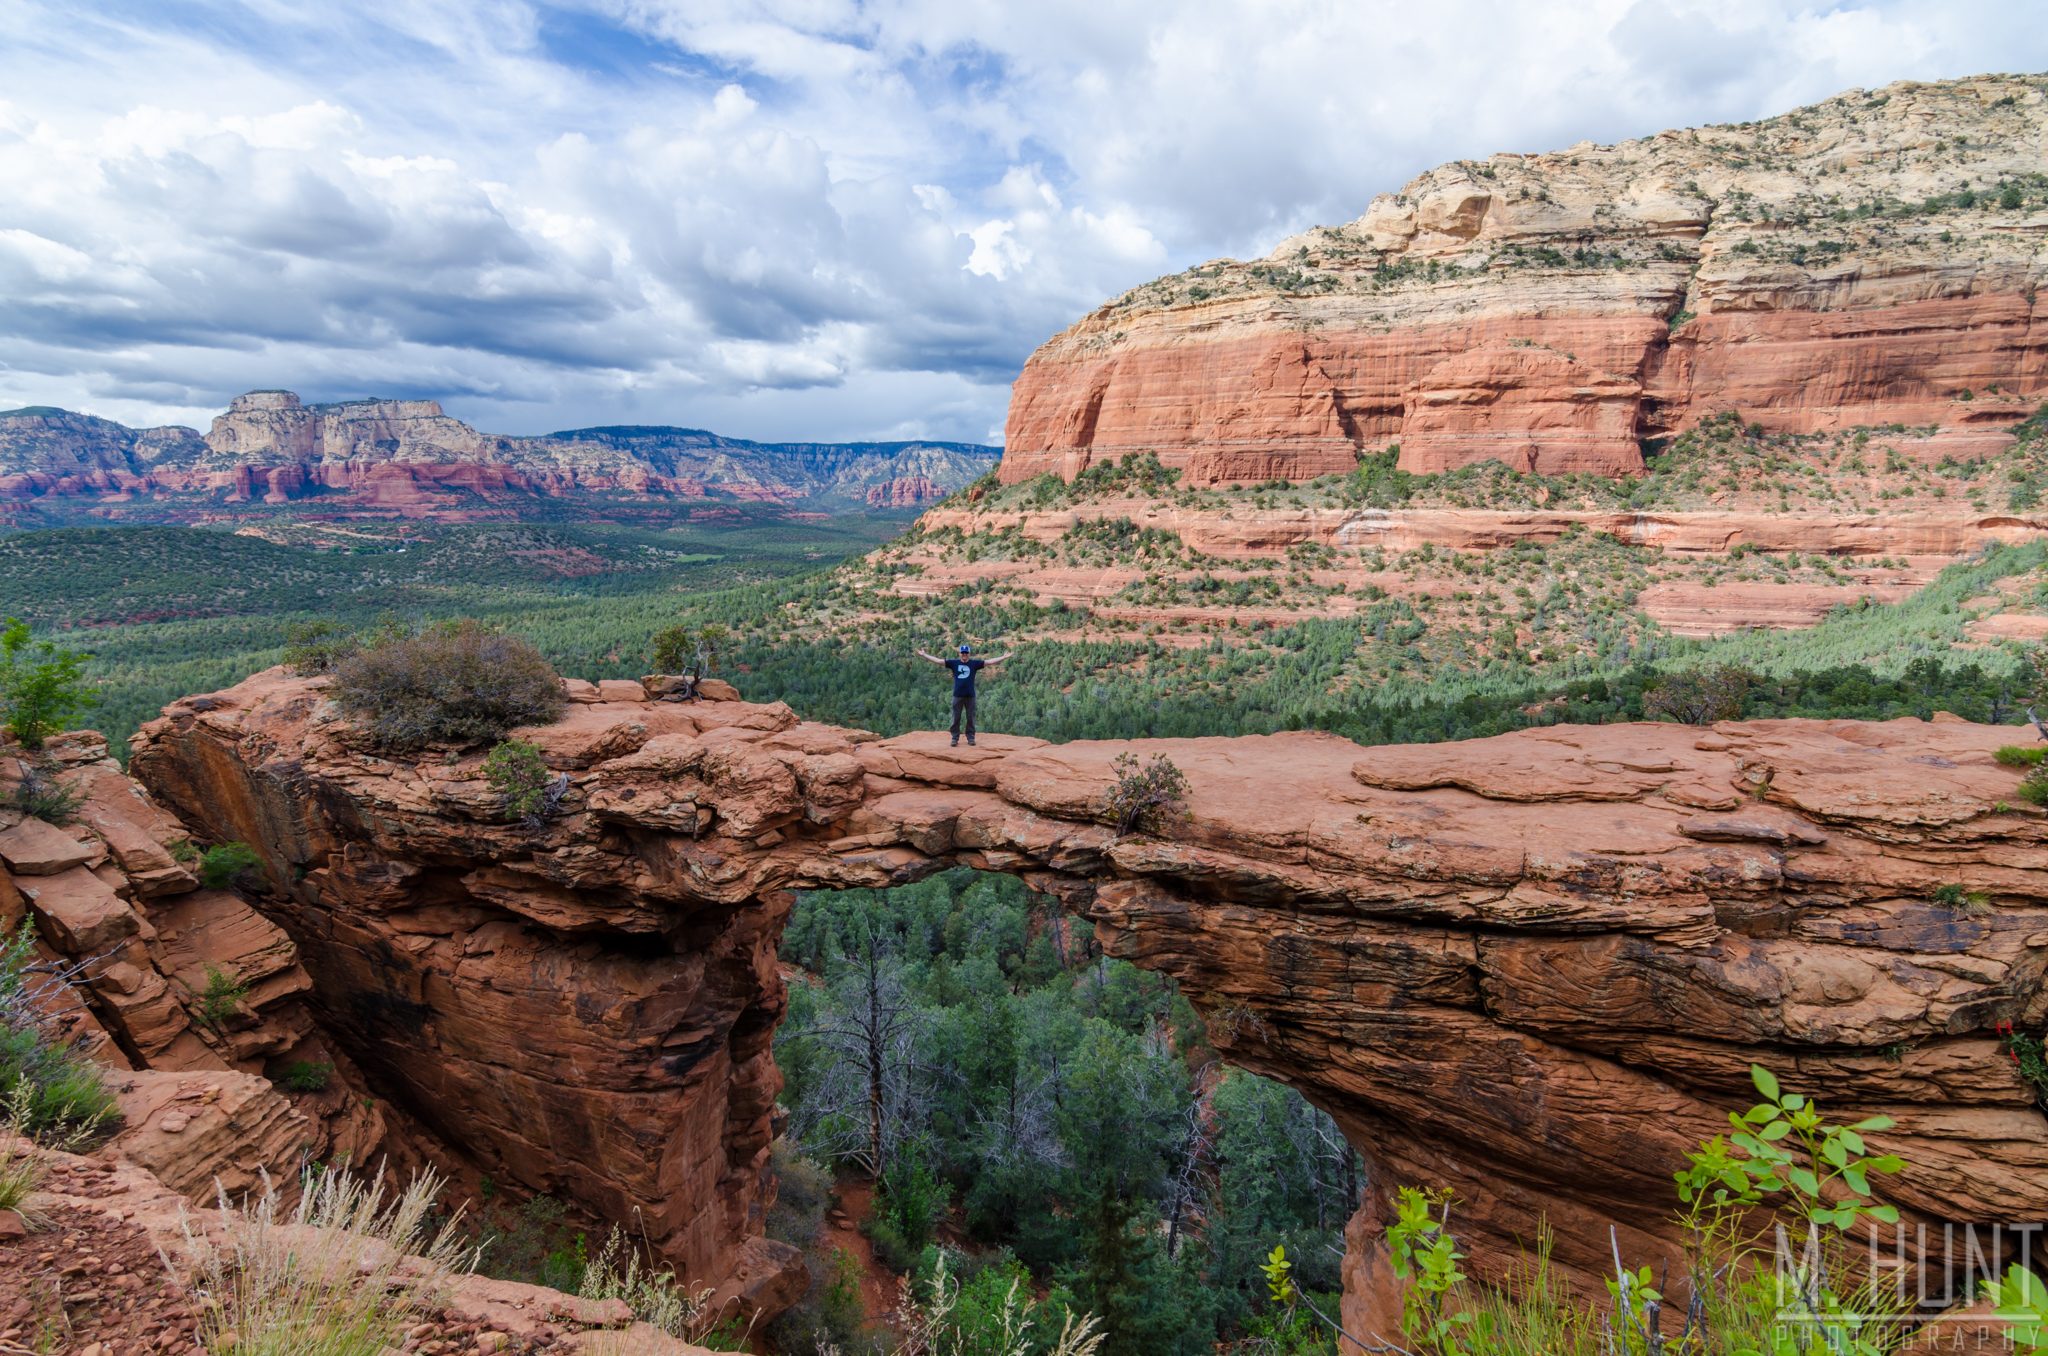
Back in the spring of 2016, I took a road trip through Arizona, from Tuscon all the way up to Page. That included a one day stop in Sedona. I didn’t even stay one night there, but in that single morning & afternoon, I packed quite a bit in! I hiked around Bell Rock, out to Devil’s Bridge, visited the Airport Vortex, and found the Secret Slickrock for a view of Cathedral Rock just before sunset. Oh yeah, and I saw a pretty good sunset out there!

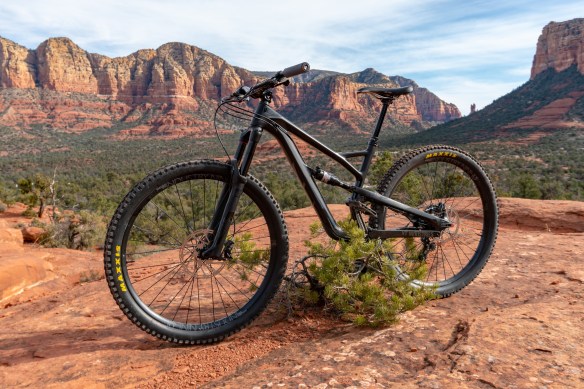
I absolutely loved Sedona, and I knew I’d be back. That was before I was even into mountain biking. After gaining this new passion, I learned that Sedona was one of the premier destinations in the country for mountain biking! Fast forward to now, and I made my return to Sedona to ride one of the world famous trails.

It would only be for one day, once again, unfortunately. Time is money, and I don’t have a ton to spend! Thanks to my YouTube channel, I had a whole group of guys to ride Hiline with, as it’s not really a trail I think I’d want to take on by myself. Well, okay, I could have done it alone, but I probably would’ve walked even more sections than I did.

dsc00008

The trail begins with a tough, technical climb up. Having been off the bike for so long, my technical climbing skills have definitely regressed. Nonetheless, I gave it a good effort! Next up is the exposure. This section of the trail is on the edge of a cliff, although it’s not nearly the death-defying experience that is Portal Trail in Moab! The cliff isn’t as high up & isn’t so straight down, the trail is wider, and there’s a lot more brush that would likely (hopefully) catch you before you tumbled all the way down the hill. Still, I wouldn’t want to fall to the right and test any of that out!

gp021007.00_01_57_28.still003

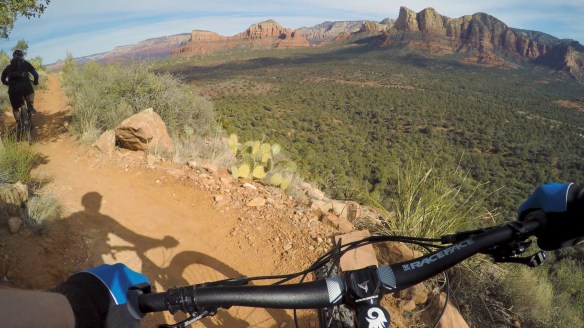
There are great views along the way, but most of your focus has to remain on the trail. Some parts get a bit techy, but it’s all doable. Get to the top and you’re rewarded with a great view in every direction before dropping into the descent.

The descent starts with some janky rocks that also give some exposure, then smooths out into a fast & flowy section through the junipers. You come out onto the slickrock, and are greeted by some steep rollers, some of which are optional lines, and a steep & rocky chute, that would end up ejecting me from my bike!

It’s my own fault. I should have first taken the time to look more carefully at the line at the bottom of this chute, as well as slowed down some. But most of all, I shouldn’t have had my weight so far back. Yes, you can have your weight too far back. As I went frame-by-frame through my video (3rd person shot by Chris, thanks man!), I realized I had too much weight on the back wheel, which caused it to buck me off the bike. In fact, at one point I may have even “sat down” on the rear wheel, which led to the buck off.

No worries for me, as I came up with nary a scratch, but my gimbal didn’t take it so well. Both of the arms were bent, causing the gimbal to lose its range of motion by contacting itself, throwing everything off. I found a different mounting position that eliminated this issue, however, the arm of the gimbal partially obstructed the view of the GoPro with this orientation. Rats! The rest of my video would feature the juncture of the two gimbal arms in the upper-right portion of the frame! Luckily I found a better solution for the following day… just flip it the other way around.

Anyway, the trail had some more steep technical sections after that. I really wanted to try these, but after that crash I decided not to push my luck. Video can never do these sections justice, as the camera tends to flatten things out and make them look smaller than they really are. This stuff was steep, and looked like an OTB waiting to happen! Next time I’ll try it, I swear!

I would end up with one more crash on a slickrock section, where I simply slid out. Wasn’t even that bad of a crash, but I slammed my left hand onto the rock, and it was bruised pretty good. I initially hoped I hadn’t broken it, as it hurt in the same spot as my right hand did when I broke my trapezium last April in Moab. However, the pain just felt different, and luckily by the following morning it was already feeling better.

At some point along the way, I also bent my derailleur hanger, though this may have even happened on the day before on National Trail. I suspect that, as I was having problems prior to either crash with shifting. The chain was coming off the large cog and getting lodged between the cassette & spokes on several occasions. Prior to this trip, everything had been dialed on this bike, so I knew something was up! I already had a spare, so I’ve now replaced that, and it’s flawless again!

Check out the video below! #LiveTheAdventure

Horseshoe Bend

An epic day that included the Grand Canyon and Antelope Canyon ended at another amazing place called Horseshoe Bend. This is one of the most photographed landmarks in the country, but of course I had to get my OWN photo of this iconic bend in the Colorado River at sunset!

It is not difficult to get to. The hike is only 3/4 miles from the parking area. The Colorado River is 1,000 feet below the cliff where numerous tourists gather to enjoy the view. There are no railings or official viewpoints. I found a great rock and sat there for quite a while taking it all in.

Pictures don’t give you a good idea of the scale of this place. It requires a wide-angle lens to fit it all into one picture. I know I say this all the time, but you really do have to go and see this place with your own two eyes to really appreciate it!

While I sat there, I met several interesting people. There was a guy from Slovakia, now residing in California, who was retired and now doing a lot of traveling. He was shooting with a Nikon D810 and 14-24mm lens, which I was jealous of! He talked about a lot of his buddies, and it sounded like he ran with a very active, athletic crowd. He told me about friends who ran races, and went canyoneering. Very nice guy.

There was another guy shooting with a D7100 that I actually let borrow my Tokina 11-16 so that he could get the whole canyon in one photo. He was there with his wife, who kept getting onto him about being too close to the edge! Cute old couple!

On the other side of that couple sat a young woman from New Zealand who had quit her job and was traveling around the world! That’s something I dream of doing, so I was a bit jealous, but also admired her for being so bold. She was traveling alone! I actually ended up running into her again a couple days later at Monument Valley!

Finally there was a young couple from Houston, who were actually staying in Hurricane, UT near Zion National Park, but had made the drive down to check out this place. Neither of them had a camera, but they had lens attachments for their phones. He was asking me about my camera, how much they cost, etc. I enjoyed chatting with them as we watched the sun duck below the horizon. It seems as though you just don’t meet bad people at places like this!

Even though I was bracketing my shots, they all turned out darker than I thought they would be judging by the histogram. Nonetheless, I was able to put together this HDR shot in Lightroom, and it turned out pretty good!

DSC_9244-HDR-2

In The Slot

I arrived an hour early to my Antelope Canyon photo tour as a result of the confusing time zones in this area! Arizona and Utah are in different time zones, and cell phones and GPS units have a difficult time getting it right if you’re near the border!

I wasn’t the only one to make this mistake, so at least I had another photographer, John, to chat with while waiting. He was from Washington state, and made the drive out to Page from Las Vegas, where his wife was attending a conference. Really nice guy!

I was a bit concerned about some pop-up thunderstorms that could be seen in the surrounding areas, but luckily that was never an issue, as the sun continued to shine over Page for the entire duration of the tour.

It’s not a very long drive from Page out to the canyon. Our guide wasn’t wasting any time, as he went flying down the dirt and sand to the entrance to the canyon. A bit of a bumpy ride, but we got there quickly!

He informed us that we’d be starting the tour by chasing the light beams throughout the canyon, and that it would be very fast, then we’d slow down and go back through the canyon. He told us to have our cameras ready to go, and not to really worry too much about settings, just get the shot!

This was the first shot we got upon entering the canyon:

DSC_8828

Despite how it may look, this canyon was PACKED with tour groups! Our photography tour group was small, 6 people plus our guide. Some of the general tours had 20 or so people in them. And there are several different tour groups in the area. There had to have been a couple hundred people total in that canyon. Luckily our guide was very good at being just plain bossy and telling people in the other tours to move, or wait for us to get the shot!

We made several stops through the canyon to get shots of numerous light beams. Some of them we watched dissolve as we shot them. Timing is everything, and I was thankful our guide knew exactly when to be where in order to get these shots!

Once we had made it through the canyon in that fast & furious rush to get these light beam shots, we slowed down and chased the different lighting in the various “rooms” of the canyon as the sun moved along in the sky above.

I think that’s about all that needs to be said, so enough talking, here are a ton of shots I took on the tour!

If you have a DSLR, I highly recommend doing the photography tour over the general tour. The general tour is cheaper, but you won’t get the same clear, people free shots that you’ll get on the photography tour. If you do not have a DSLR and tripod (a tripod is necessary, the light is low, and long exposures are needed), then you’ll have to do the general tour. That is their rule, and rightfully so.


Red Rocks Rock!

What can I say about Sedona? It is truly one of the most beautiful places I’ve ever been to. It’s a photographer’s dream. It’s a spiritual haven… apparently. It’s a hiker or mountain biker’s paradise. It’s a great place for a vacation. While I only spent a day here, I could easily have spent a week.

It was a jam-packed day for me, which started with a hike to Bell Rock. This hike was a bit longer than I expected, but had some pretty good views from an elevated spot of the rock, though I think the rock itself was pretty spectacular, too!

DSC_8353

DSC_8369

By the time I got back off of that trail, it was time for lunch. I stopped at a great little place called the Red Rock Cafe where I had a wonderful chicken melt sandwich, sweet potato fries, and key lime pie! I didn’t feel guilty at all about that meal, because I had just come back from a long hike, and was about to go on another! I can’t speak for any other restaurants in the area, since this was the only one I went to, but I can highly recommend Red Rock Cafe! They seem to be very popular for breakfast, and I was very close to getting breakfast for lunch!

After lunch I headed to the Airport Vortex. There’s some kind of special metaphysical energy you’re supposed to feel at this spot. I guess I’m not into that sort of thing… I didn’t feel any different! It does have fantastic views, however! It’s a very short hike up from the parking area, so this is a good place for everyone to go and experience.


DSC_8471

I sat up there for a while, just taking it all in. Not that I had time to explore the whole town, but I’d have to say this is the spot for the best views. Considering how quick and easy it is to get to, it’s a must stop if you’re in Sedona!

Next up was my favorite part of Sedona… the hike to Devil’s Bridge! If you have a 4-wheel drive vehicle with a high clearance, or you rent one, this hike is considerably shorter. If not, you’ll have to park an extra mile and a half or so from the trailhead. This would not have been that difficult of a hike, but after climbing Camelback Mountain in Phoenix the day before, and hiking Bell Rock earlier in the day, my feet were downright killing me by the end of this one! It felt like I’d get one big blister on the ball of each foot! So unless you’re in the same boat, this one isn’t too bad. There is a pretty steep climb to get up to Devil’s Bridge, but anyone in moderately decent shape should be able to handle it without issues.

DSC_8492

DSC_8498

The view is, of course, amazing. From this location you cannot see any houses or other buildings, it’s just those beautiful red rocks, shrubs, and trees! The above picture is a wide angle shot, and doesn’t really do the drop-off justice. If you fall from the top of Devil’s Bridge, you probably won’t survive. However, it is not as sketchy as it looks from this angle. It’s actually very wide, even at its most narrow point, where I’m standing. You’ll have to wait your turn to get a picture alone, hopefully not as long as I had to wait for this group that sat out there forever taking selfie after selfie after selfie! Annoying.

After that, it was about time to start thinking about getting the shot I really came here to get; Cathedral Rock at sunset! Unfortunately on this day, the clouds had other plans. I also had a difficult time finding the spot I wanted to shoot from. It is actually called “Secret Slickrock Trail”. There is no official parking area for the trailhead, you just have to park along the side of the gravel road. But in my opinion, this is the best viewpoint of Cathedral Rock, and not quite as over-shot as the Crescent Moon area below this slick rock.

Cathedral Rock

At least there was some water in that pool, but I was definitely hoping for more sunlight on the rock. Thin high clouds were muting the sun quite a bit, so this was about the best I could do. I’m still happy how it turned out, though!

I left that spot before sunset, and debated on where to go from there, thinking there was a chance for a good sunset. I decided to head back to the Airport Vortex, and right as I arrived, the spectacular sunset was taking place! Unfortunately it was packed! I could not find a place to park! I finally parked in a little gap on the end that was actually a parking spot, but my car fit! I had to run to a little ledge above the road, as I didn’t have time to get to the top of the Vortex.

DSC_8559

That ended up being a great way to end the day in Sedona! Accommodations in Sedona itself are quite pricey, so I had reserved a room about 45 minutes to the north in Flagstaff. It’s a windy road with a big elevation climb once you leave Sedona, and suddenly you go from the Red Rock desert, to a pine forest! There was also quite a temperature change!

As I was making this drive, I looked up and saw that the stars looked brilliant in the breaks between the clouds, and I envisioned how great that would look in a picture above the tall pines, so I found a spot to stop along the side of the road! Sometimes these impromptu shots end up being my favorite shots, and this one was no exception!

DSC_8608

The orange glow on the bottom right is a result of the city lights of Flagstaff. The trees at this spot weren’t perfect, but for a shot that was completely unplanned, I’ll take it! There was also quite the change in temperature at this higher elevation, and I had to get my winter coat out to shoot from here!

Those Ponderosa pine trees had a very unique aroma. I can’t really describe it. They did not smell like what you think of as a traditional pine. It was not bad, by any means. I actually liked it! Some say it smells like vanilla, but I didn’t think so. I wonder if the people living in Flagstaff even notice it, or if their olfactory centers have gotten used to it, and they smell nothing? It’s probably the latter, but for an out-of-towner, it was a lovely welcome to town!

Sedona is definitely a place I want to go back to and spend more time. I’d love to get some sunrise shots, and some better sunset shots as well, particularly at Cathedral Rock. If you have never been, I highly recommend it! You will not be disappointed! As always, pictures do not do it justice, you’ll have to go see it with your own eyes!